
We visited the Heceta Head Lighthouse (Ha-SEE-Ta) a couple of days ago. The fog bank was sitting low and giving the area an eerie Gothic look with sunshine. I went nuts with the camera. I'll try not to overdue the photos. I get the feeling this place sees more fog than sunshine.
From the parking lot and beach area, we got a great view of one of the original houses. The house is now a B&B and the head lighthouse keeper's home.


It's too bad a second house that probably housed the assistants was dismantled and the lumber sold. I would liked to have seen the other one. This one is a wonderful well-maintained Queen Anne-style home. I just love this porch. A great place of a cup of tea...and to have

such a gorgeous view! So peaceful with just the sound of birds and the ocean crashing against the rocks below.


On The Cutting Board
I finished and mailed my latest custom orders. I hope my customer is happy with them.
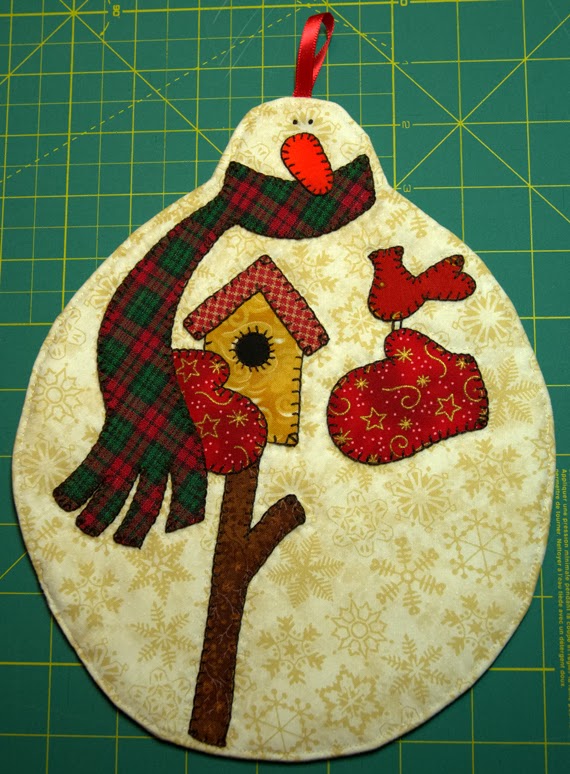


The instructions are easy enough. After the pattern has been transferred to fabric, iron a sheet of waxed paper to the back to stabilize the fabric while coloring. I did not do that this time because I had already started stitching when I decided it needed more color. After the coloring is done, pull off the waxed paper. Heat iron on cotton setting, cover project with muslin, and press until you smell melting wax. Ta-da!
Next time, I will use some waxed paper. I want to see if I can get a deeper darker coloring into the fabric. First, I need to finish these two...so back to the projects...
Happy Quilting!


